


A few days ago, a friend of mine shared this idea on Pinterest. I knew instantly that I would have to make one! Basically, it's a fabric mixing bowl cover with elastic around the bottom. I LOVE this idea for covering a bowl when bread dough is rising! Other methods all have their flaws- either they don't stay on, they create more trash, etc. But this one stays on, keeps the bowl covered but not airtight (good for rising dough), and is washable!
Here is the website where I got most of the directions from: http://thecottagehome.blogspot.com/2011/05/color-my-summer-purple-potluck-bowl.html
I will try to explain how I made it. Granted, I am not a very experienced seamstress, so take my directions for what they're worth! :)
Materials:
- 12-inch diameter piece of prewashed fabric*
- Extra wide double fold bias tape
- 1/4" wide elastic
Directions:
- Cut your fabric into the desired size. (I traced the top of my mixing bowl, and added about 1 1/2 inches around all sides. For my KitchenAid bowl, this comes out to a 12 inch diameter circle.)
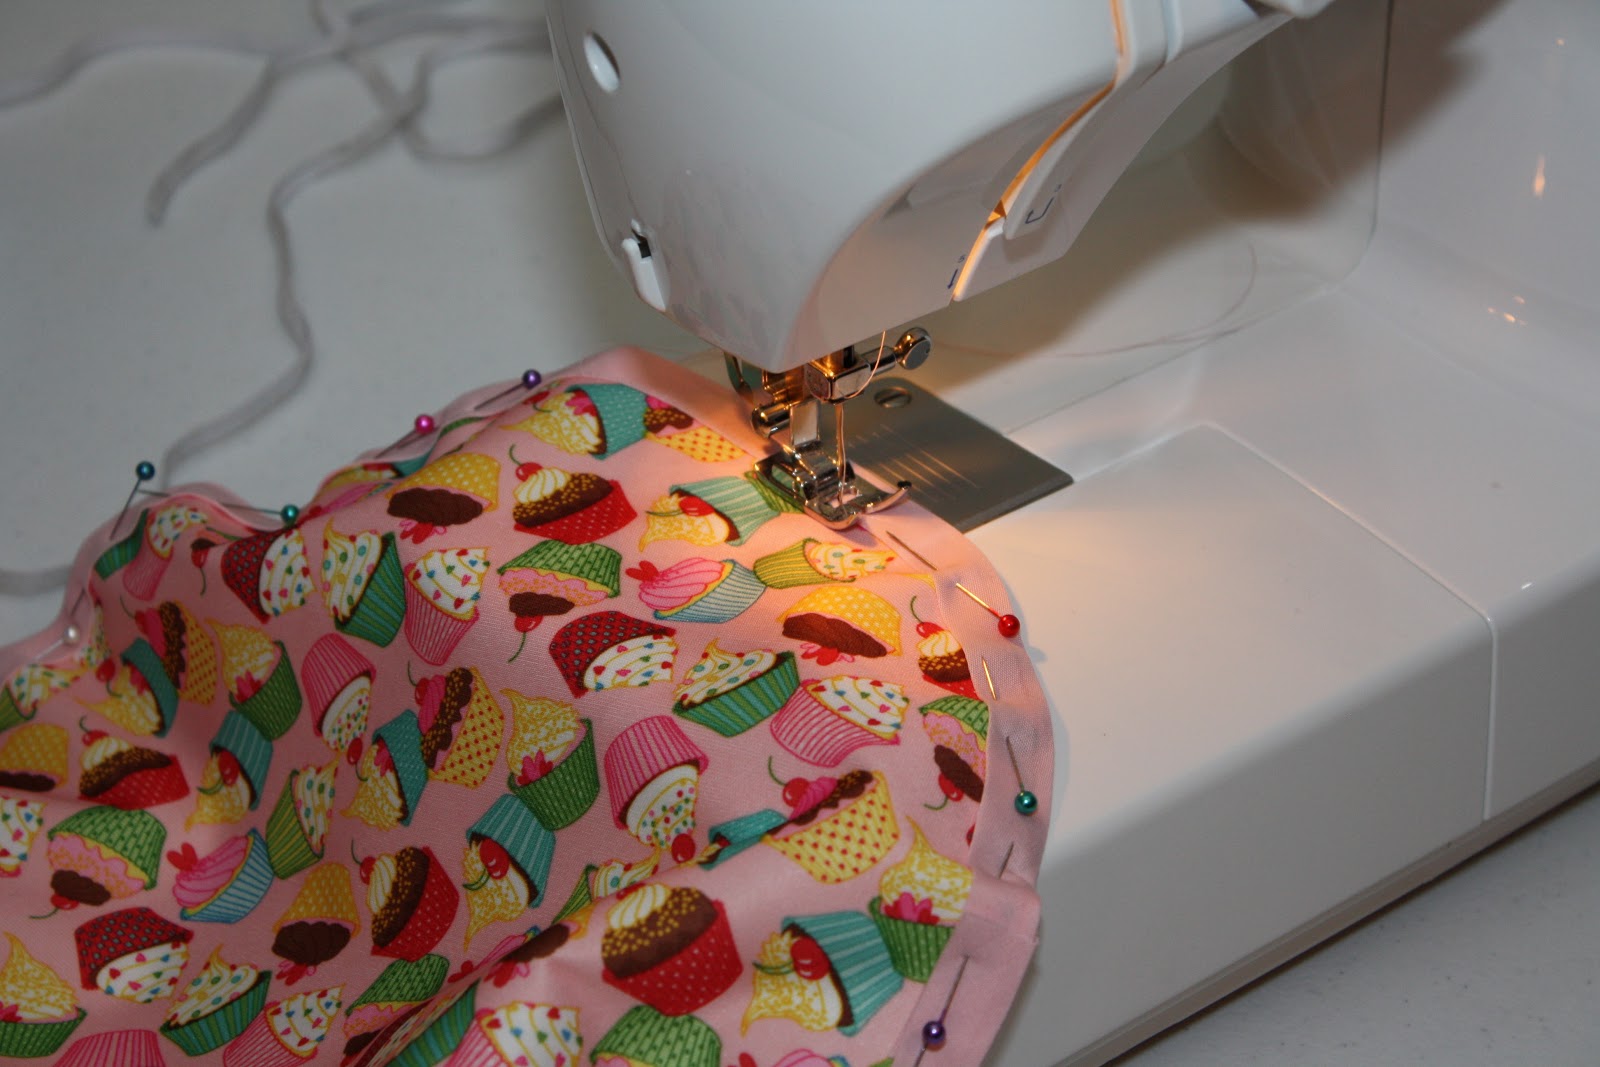
- Pin the bias tape along the edges of your fabric.
- Sew, trying to keep the stitches as close to the open edge (not the folded edge) of the bias tape. This will ensure that the pocket is as big as possible for the elastic. Leave a 1 inch gap in your stitches so you can feed the elastic through.
- Attach a safety pin to the elastic, about 1/4" from the end. Feed this through the pocket you just made. ((This was the part I struggled with the most. Both times, the safety pin fell off the elastic before I was done feeding it through. If this happens, you can undo some of the stitches and retrieve the safety pin, re-pin it, and continue feeding it through.))
- Sew the 2 ends of the elastic by hand, then sew with your machine. You want them well attached!
- Sew closed the opening(s) in the bias tape, and the place where the 2 ends of the bias tape overlap.


 Last but not least, here's a picture of another one I made. I made it just using scraps of fabric I had, not even realizing until I was done that it's the same colors as my kitchen. I think I'll leave this one on my bowl all the time to keep dust out of it! Also, do you notice the cutie who wanted to be in the picture, too? :)
so great
ReplyDelete